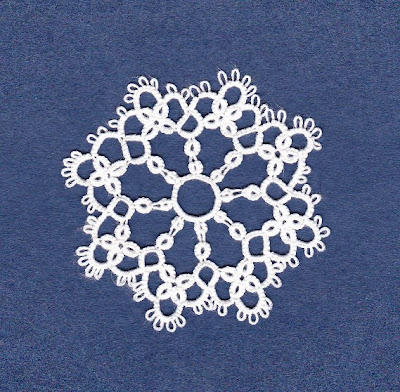
The original photo.
 It really does help to read the pdf file which is linked later in this post and also in the sidebar. I started with a paperclip on a chain for the center. Yeah, cut and tie but the next part is also started with a paperclip on a chain with 2 shuttles.
 The red star shows where I began on this segment. It continues on around but I wanted to highlight just the one segment.
And here it is completed!
Here's the link to the pattern: Plate III Figure 16 Medallion Pattern

Here's the original photo for Figure 17.

The diagram and again, the pdf is very helpful as it gets a bit fiddly with rings thrown off chains.

And the pattern is linked here: Plate III Figure 17 Medallion Pattern


%2B(650x228).jpg)


.JPG)


Ooh! Another pretty medallion! You are again tempting me to abandon projects that need to be finished, but I will restrain myself. Instead, I'll just expand my to-do list! : )
ReplyDeleteThose are very pretty. What software do you use to put the numbers on the pictures?
ReplyDeleteJB - I just use "paint" for the numbers. Nothing special but it gets the job done. I'd rather draw a diagram but I just don't have the time right now to do that.
ReplyDeleteHi, Gina,
ReplyDeleteI am not sure why you started with a paperclip. (I have not had my coffee yet and I could not even spell 'paperclip' for a sec, so please bear with me!)
Could you not have begun with a mock picot followed by a split ring to the second row?
With me, there is probably something I am just not seeing that is obvious...
Fox : )
Oh - maybe you are replicating them as they were originally done?
ReplyDeleteBoth look really great! :)
ReplyDelete