


%2B(650x228).jpg)


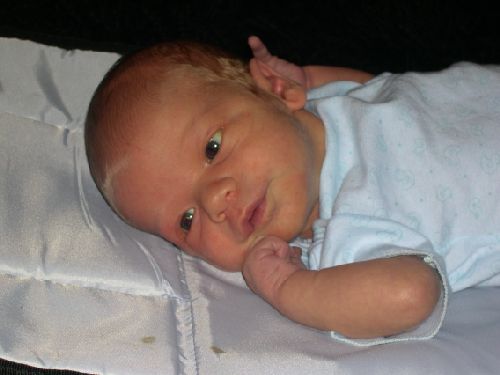
Before I start though, I wanted to show a pic of my great-nephew, Carter, at 14 days.

Isn't he a darlin'?
Okay.........
Saturday morning started off with breakfast in the cafeteria. Columbia has an excellent assortment of choices at each meal. The only thing I didn't really like was the dinky glasses for drinking. I'm a heavy iced tea drinker and I never got enough, but I wasn't too perplexed by that.....too much to do!
I found my handy-dandy book, btw.

Which brings up all the goodies we got in a crafty treasure bag! Upon registering, we received our choice of this dorset bag. I say our choice because the liner colors were different but the outside of all of them were the black with multicolored palm trees. ONE person sewed approximately 100 of these bags which were packed full of toys. I'm sorry I don't remember her name!


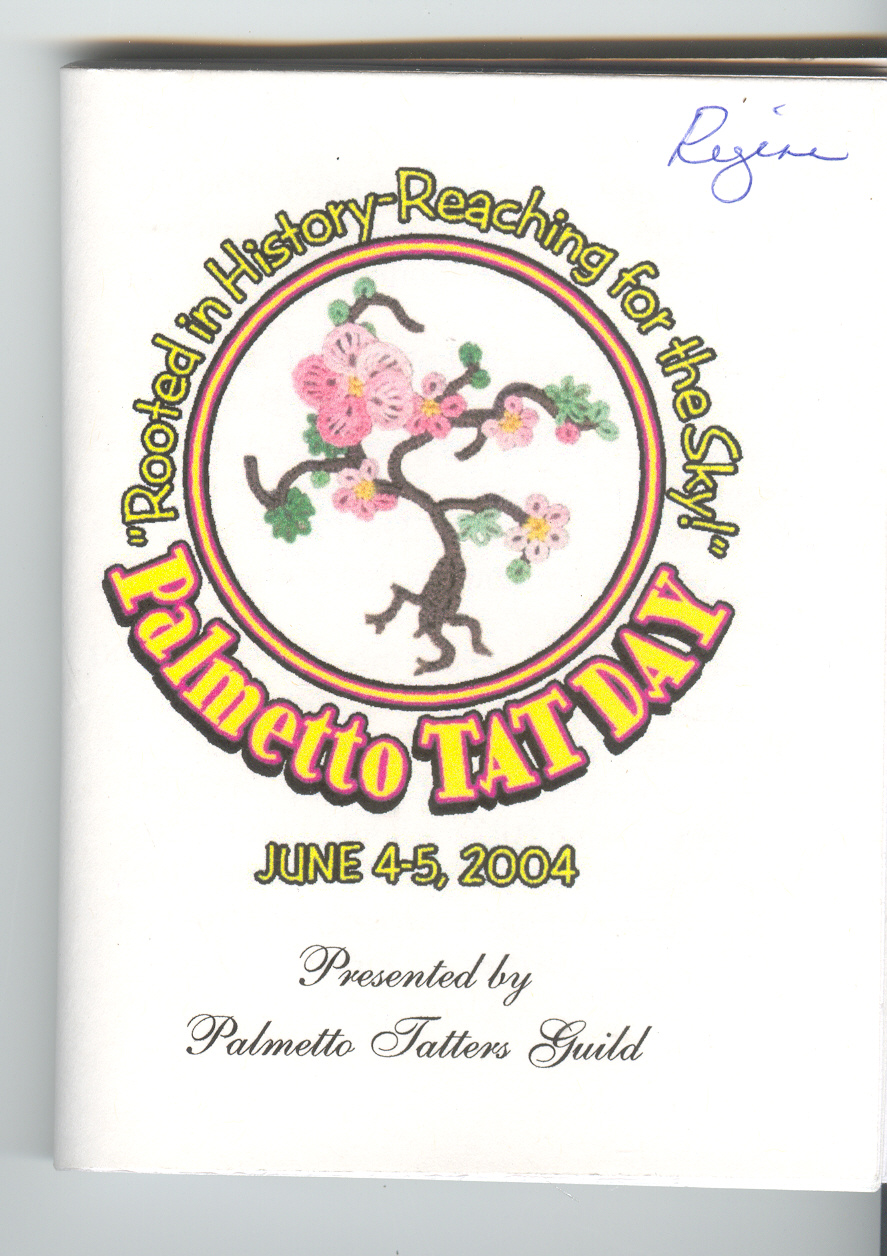
You can see what all was in the bag, plus a few things I've already taken out. The booklet for one - it had the schedule, maps, pics of all the teachers, names of all participants, history, patterns and notes. The logo on the front is from Sue Hanson and was also on the back of the T-shirts we received, apart from the bag! In the bag were 2 flat cardboard shuttles already wound with a thread, perfect for a quick lesson; a shuttle winder made from a plastic lid; a paper bag to drop in snippets of thread; a fan to decorate for next year's theme; a packet of tiny tat patterns (10 cards, printed on both sides), film canisters for storage; a tin with safety pins and a few other things we would need in classes; a bottle cozy, a pen to write with, a plastic canvas template for cluny leaves; a bookmark, and a small bottle of hand lotion. I might have forgotten something. Oh, we got a bottle of water too, to go with the bottle cozy.
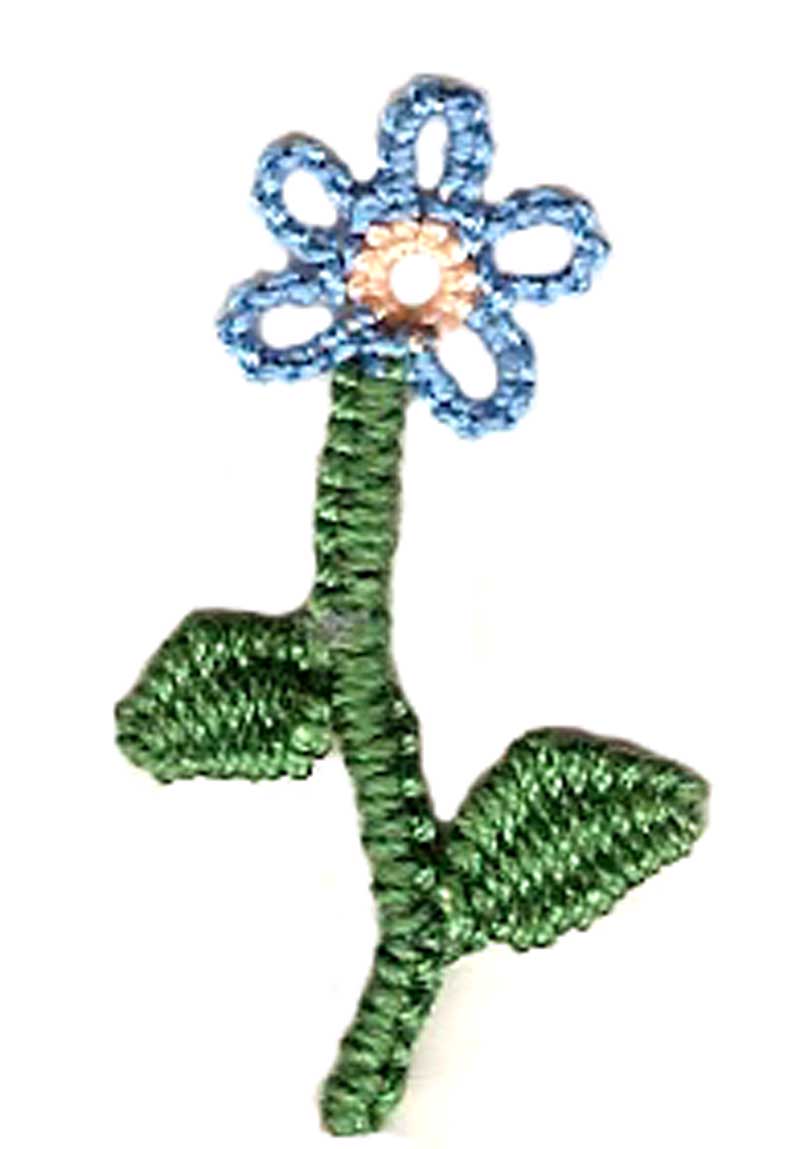
My first class was with Ruth Perry aka Rozella Linden "Beginning Floral Celtic". I took all short classes, wanting to meet as many teachers as possible. Ruth explained the background behind celtic tatting and how her technique differed from what had been offered before. She actually winds the chain through itself as a true celtic design does. Ruth has a yahoo group that focuses on this type of tatting here. The motif shown is my second attempt. The first one wasn't quite the way I thought it should be. I then added the celtic stem per the instructions after I got home.

Ruth also treated us with a bag of goodies! In a bright and cheery yellow paper bag we found Ruth's business card with a tiny handmade paperclip that she uses in beginning her chains that are done in fine thread, like size 70/80; a floss holder; a pin backing (since that's what the project actually was); some size 8 thread; a gift tag with tattings on it; and a larger gift tag with a tatted celtic rose bookmark! I was so busy fussing with the technique that I don't think I gave Ruth a proper THANK YOU for all she gave us. I had fiddled with some of Ruth's online patterns before I came and it does take some playing with it to get the "feel" for it. I had put off buying her book until I felt reasonably sure I would use it..............and then I forgot to have her sign it! LOL! Maybe we'll entice her to come up to our tatting guild one of these days though and I'll have another opportunity.
My next class was with Nina Libin. I've had Nina's book, Beanile Lace, for a couple of years and I brought it with me. Yes, she did sign it......but that was due more to her noticing I had it than me remembering to ask! Nina is from Russia and has an accent..........but not enough to deter understanding what she says! We had the choice of making a brooch, a pendant, or earrings. We had the patterns for all, but only supplies for one. I chose the pendant. Once I got the idea of how the beads are put on, following the instructions was easy. I wasn't very good with the thread needle though. My pendant looks a little off because it is not done. I still have a few beads to add and I sure hope I remember how. Nina told me how to finish and it made sense at the time, but I'm not sure it stayed in my head! LOL! I think the instructions will make it easier to figure out.

Okay, that's enough for now. At this point, we broke for lunch and lunch included awards. I also used that time to take photos of the entries and displays so I'll show some of them at the next entry.


.JPG)


I love the pendant. I am very interested in learning how to add beads to my tatting. Is there a book or a site out there that would offer more instruction on this technique.
ReplyDeleteThanks
tmarkuso@hotmail.com