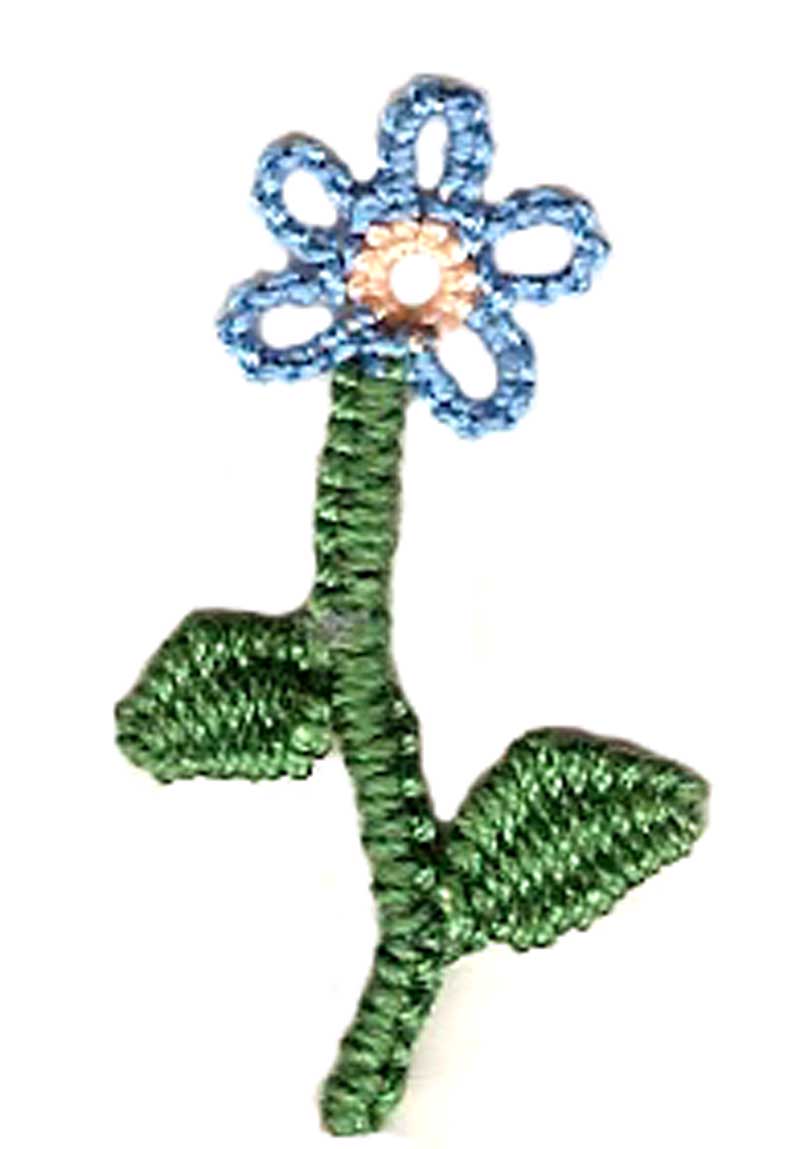
Showing posts with label Lizbeth thread. Show all posts

Saturday, July 30, 2011

#15 of 25 Motif Challenge

Yes! I'm still plugging away at this! For new readers, I'm participating in the 25 Motif Challenge hosted by Sharon Briggs. The idea is to tat 25 motifs of your choice within the span of a year. No penalties if you don't but many rewards when you do. It's one way to focus, to improve your tatting skills and to just have fun. So many people think they don't tat much but when you record your tatting, as you do in the Challenge, you might be surprised to see how much you really accomplish.

For this challenge, I'm going through the D.M.C. Tatting publication which can be found in the Antique Pattern Library. If you do a search in the left sidebar for "25 Motif Challenge", you will find my prior posts in this and the previous challenge I participated in.

This is figure 12 of Plate 2, an edging made up of a ring with 9 picots spaced with 2 ds between. Then a chain comes around with small rings thrown off and is joined in the middle of the ring picots.

As usual, I'm tatting the first sample in size 20 DMC Special Cordonnet. This is actually my second sample. In the first one, I left out the chain 4 between the large rings and then I tried to tat across where the crochet header is and it looked all wrong. Boo! Hiss!

So I did it again, the right way. (and still made a mistake in joining to the first ring!) I used a size 50 DMC thread for the crocheted header. The instructions say to treble in the picots but falling back on what I know of old crochet terms, this is really supposed to be a double crochet. I wish now I'd only single crocheted as it does set the header a bit high. There was supposed to be a chain 5 after the double crochets and then treble crochet at the base of the large ring and again at the join of the previous ring. This was too long and really bowed up so I shortened it to 4 chain stitches between. I could have made the treble another loop longer too but considering my previous samples, I was happy with this one. I used a size 12 steel crochet hook and this made the stitches tighter. As in previous headers, the next row is double crochet, skip 1 stitch, double crochet all the way across.

Here's a numbered scan. You start with the large ring, (2-)9X, 2, close ring. Make the 5th picot smaller since it is a joining picot. Reverse work, chain 3-4, switch working shuttles so you are using the ball shuttle and tat a ring of 6 ds, close the ring and switch shuttles back so you can chain 3. Repeat for 2 more small rings, chain 4-3, join to the 5th picot of the large ring, chain 4, then reverse work and start all over.

I bought these pillowslips at Walmart a few months ago with the intention of tatting or crocheting edgings on them. I've started tatting figure 12 but I'm using Josephine Knots instead of regular rings. I sort of wish I stayed with the regular rings since they go faster but I also wanted to see if they looked any different. I will not put a header on this and I may only put it on the stitching line of the hem. I've only got about 10" done of the 40" needed for one pillowcase. This is Lizbeth thread, size 20. I have another ball of variegated that coordinates with this one and may tat a simple edging if I put this one on the hem line.

And yes, I still have the flower edging for the blouse sleeves to work on. I've had it in my binder to show and tell at various times so I'll take it out and start working on it again, along with the pillowslip trim and the secret project I haven't shown yet. I DO like to have lots of projects going on at the same time but I have to watch that I don't neglect some and then forget what I was doing!

Friday, June 10, 2011

#9 in 25 Motif Challenge

Surprise! I finished figure 6 of Plate 1 in the D.M.C. Tatting publication.

This is the last one in Plate 1 and it is defined as a galoon. Remember a galoon is a surface trim, like braid, instead of an insertion or edging.

I tatted it in DMC Cordonnet Special size 20. I didn't do a very good job with closing the gap in the clover on this one but I paid special attention there later. I blocked this one a second time to open it up so you could see the chains. It has a tendency to pull in towards the center but the chain is an important element of the design, I think. A diagram is at the end.

I had some Lizbeth size 20-108, Sherbert Delight sitting on my stand. I love this colorway on the ball but I'm always disappointed in the way it looks tatted up. The colors change enough to keep it interesting and the changes are on a regular basis, but the dark is too dark for me. I've been trying to use it up in things I don't care about so it got elected for this.

I tried to make sure I pulled the clover together before tatting the chains on this and I added yellow beads between the clovers. The piece is 9 inches long and I was tatting it specifically to put on a headband. I didn't pull this one out in the blocking so the chains don't show up as much.

At the moment, it's just pinned on the headband at the ends but when I stitch it down, I'll make sure the strip is pulled outwards so that the chains show up.

I have so little hair that I'm not sure I can wear this but I tried it on anyway. I could find a home for it but will probably keep it in my samples for this challenge. I think some very narrow ribbon and perhaps a few small tatted blossoms on top of the galoon will give it more dimension but it's good just like this.

Here's the diagram. The sequence of tatting starts at "A" and ends at "H" and then you start over again.

Clover:
R1: 6-3-3
R2: 3+9-3
R3: 3+3-6
Reverse work
Ch: 3-3
Using the ball thread, make another clover. You're going in the same direction and do not reverse work until the this clover is complete and you're ready for the chain.

This means you use 2 shuttles wound CTM (continuous thread method). Initially I started out with a full ring shuttle which was around 9-10 yards but I only put 6 or 7 on the ball shuttle because I had it in my head that most of the rings were from the ring shuttle, but you are actually going back and forth. I had to add another yard to the ball shuttle so I think 9 yards on each in the size 20 would produce 9 inches of galoon. Beads are optional and you could use them any way you want in your own creative style.

Next up in this challenge are a series of edgings which look very pretty. They include crocheted headers so we'll see what happens there.

Friday, May 27, 2011

I hope to finish up the "sorting and cleaning" this weekend and get back to tatting more prolifically. In the meantime, I work on bits and pieces when the opportunity arises. I started this motif by Lyn Morton in Tatting Patterns during my lunch hour yesterday.

It's called Hearts & Flowers and is tatted in size 20 Lizbeth thread. Sorry, I don't know the colors as I don't have the package anymore and it's not on the label. I've actually been using the Lizbeth more for crochet or needle lace since I can work around the slubs and knots more easily so it's handy and I still try to tat with it. No problem this time but I've had problems with this same ball so don't think I've changed my mind about the thread's suitability for tatting! LOL! I've not had a problem yet with the size 40 though. Anyway, this motif turned out nicely but I did have to wet and pin it to block.

I've also been working on some needle lace, simple edgings. There are something like 12 categories of needle lace and I'm not sure where this would fit in. It's a buttonhole stitch and I got it last night out of a 1916 Home Needlework Magazine I was browsing through. The edging on the right side is from figure 1 in the diagram and the edging at the top is figure 2. I really like figure 2. The scan from the book is below.

I left the description in the scan. It only cost 40 cents for the towel stamped and with a plain border. BUT, you could get it for 5 cents if you also got a new subscriber for them. The book itself was only 10 cents!

I love looking at the embroidery patterns in these books and wish they survived somehow but I've yet to hear of any central location where you could find any. The illustration for the edging was a bonus and I think it makes a very delicate trim that any stitcher could easily do.

Sunday, December 05, 2010

Sore, Hungry & Tired

I finally got the hallway shampooed. I also wiped the walls down and took down the cold-air return grate and washed it. I cleaned out a much used bookshelf. Now that the carpet is drying, I washed the blades on the ceiling fan in the living room and heated a frozen broccoli/carrot/cauliflower/cheese one-person serving. It's too late to nap but I will probably shower before I go to bed. I worked up a sweat!

I still didn't get all I wanted to get done on my week off. I hoped to have the entire living room shampooed so that I could put the tree up but I'll do it in halves through the week. This is where the furniture is too much for me to move myself. In fact, I had my son move the display cabinet with dolls in it. I'm out of boxes to empty things into so couldn't empty it except for a few teacups.

I hate the idea of putting things back in the hallway - it looks so open and clean now, but I have nowhere to put some of this stuff. I felt a bit guilty for not getting to any of this yesterday afternoon but I was tired and recouping then! So while I was recouping last night, I decided to tat the other two bookmarks in the December 1986 issue of Anna that I mentioned before.

You might remember this one? I sent it to my aunt and it turns out now that it's my favorite pattern of the three.

Here's the second pattern tatted in Lizbeth size 20 Christmas thread. I might like this pattern better in a solid and thought I might tat one later. We'll see.

This is the third pattern and I used Lizbeth size 20 Victorian Red along with a strand of Sulky shiny gold. I don't know the exact color/size of the Sulky but I thought it would add a bit of gold to the overall look. I used the handle of a crochet hook as a picot gauge which makes the picots nice and loopy as well as uniform size. I almost ran out of thread on this one!

It's not like I need one more piece of furniture, but as I was thumbing through a craft magazine on the aforementioned bookshelf, I found the "Perfect Caddy". I think that would be a perfect companion to my chair - right next to it, holding the threads and books I use the most. Several hundred dollars is the cost, but I do know a few carpenters so someday.......who knows?

Monday, August 02, 2010

Archived books online & Tat Days

There is an online resource besides the Antique Pattern Library that offers several vintage books about Lacemaking. It's at The Internet Archive and is also where you can find "the Wayback Machine" to find websites and pages that no longer exist. There are other books and videos too,that are about other subjects entirely. I did find a few publications that I'd not seen in the Antique Pattern Library, so far anyway.

This link is all tatting and it uses lots of the decorative braid from the era.

This one is more crochet than tatting but still a nice assembly.

I was browsing the Interweave Magazine site when I found that corrections to Piecework Magazine projects can be found at this link!

There's been lots of talk lately about lace days, such as I.O.L.I. (International Old Lacers, Inc.) who held their annual convention in Portland last week. There are two more specifically tatting-related events coming up too! Both have "Fall Into Tatting" as their theme though I think the Fringe Element Group always uses that logo. The Palmetto Tat Days are being held in Toccoa, GA on August 27-28th this year.

For our tatting friends in the northern part of the hemisphere (a good location for those in the east too) there is a Tat Day in Cambridge, Ontario on September 24-25th hosted by the Fringe Element Tatters! Actually, I think it's really nice of them to space them out like that. Go to both!

hmmmm...did you know that if you hit "enter" when you are in the "title" box that it publishes your post????

And now for the tatting.


What do you mean this isn't tatting?


Oh, oh...this is crocheted? Irish crochet? Well, what do you know? LOL! Well, we've all had our share of explaining which lace is which, but what I'm really trying to do here is inspire you. Can you see this piece tatted? It's one side of a hexagon bag in a Leisure Arts publication. I was a bit bamboozled about which color to use for the outside, considering ecru, white or a solid to match one of the colors in the flower. Why oh why did I not think of black???? I will do the second half with black and then, of course, I will need to crochet yet another one. I suspect I will like the black better. The nice thing is I can simply pull a thread and all the ecru will unravel, ready for use again.

Oh...you want to know what I meant by "inspire you"? Okay, just think of how easy this would be to convert to tatting. The center rosette is already available in many different patterns. I'm thinking of #3 in Lene Bjorn's snowflake book. Now for the outside, it might take a bit of trial and error to get the stitch count right but it's practically all chains and picots. You can change the crocheted clusters to clunies or even rings if you prefer.

This is crocheted in Lizbeth size 20 in jellybean and ecru.

Monday, June 21, 2010

When I was at JoAnn Fabrics the other day, I noticed they had all their Lizbeth thread on clearance for $1.97/ball. Since I've gotten bad balls from both JoAnn's and Hobby Lobby, I'm suspicious of these particular lots but I didn't have Caribbean and it's pretty so I bought it. It split on me once as I finished one motif, but otherwise, so far, no problems. But I'm less than 10 yards into the ball too. LOL! I hate being so skeptical but I've had NO problems with the ones I got from ZigZag Corner. Only the ones I've picked up more recently from local outlets.

(Update! Thank you Marty! The snowflake is from Mike and the pattern is HERE!)
Anyway, I tatted two motifs last night. One is from a vintage publication and I'll rewrite the pattern and offer that at some point later. The swirly snowflake was from a printout I had, and I'm pretty sure the designer is a guy and I think his name is Bob (maybe Biker Bob?) but it's not anywhere on the printout. It used to be that when I printed something from the computer, the website, at least, printed at the bottom. That doesn't happen much lately as so many websites are "print-friendly" and it's possible I copied and pasted the instructions onto a blank word document to avoid all the "extra" stuff. So...if someone, including the designer, will let me know who they are, I will be happy to add his information here!(Thanks again to Marty from Tat's All She Wrote.)

That said, I really like the Caribbean in the swirly snowflake pattern, but not the vintage snowflake pattern. See how the colors work out in the swirly but are disjointed in the vintage one? I had tons of thread on the shuttle after the swirly so that's why I tatted the vintage one. I'll do it again in white or a solid since it's for a project. The colorway repeat was good for one design but not another and this is the pitfall with colorful threads.

The other thing I wanted to demonstrate here was how the motif looks on different backgrounds. I actually have them on white too, but in my editing, I accidently saved one motif and lost the other so I didn't include it in the collage. I have lots of small cardstock that I use for background scans, especially for white pieces that don't show up. I put the motif on several shades of blue but it fades away into the darker blue so I didn't even scan that one. The gray is actually a gray-blue. The green and peach made the motif stand out better, but sometimes odd colors pull out shades you really don't want to see.

I actually like the swirly on the sky blue background. The vintage motif didn't look good on any of them but it's because of the imbalance of color distribution in the motif, not the background so much.

And that's my experiment of the day!

Friday, January 08, 2010

In case you are wondering WHY I'm still tatting this design, I wanted to have a sample that used only picots, no beads, and all one thread. I'm now getting ready to string beads and wind shuttles for 2 more pairs, one with beads and 2 colors and one with contrasting beads but one color. I'll use them during the class tomorrow. Yea.....last-minute-minnie I am. Everything is ready - I just need to string and wind these shuttles which I will have done in less than an hour while I'm watching TV.

And oh, if you've just stumbled on this blog or don't remember seeing me post it before, the pattern is from www.free-tatting.com. It's important you have that "-" in there if you google for it. The thread is Springtime from Lizbeth in size 20. This is still my favorite Lizbeth thread. A few of the solids have caught my attention but otherwise I'm not quite as enamoured as many seem to be. Not a bad thread by any means, but I wouldn't say it's #1 either. I think the best thing they've got going for them is the huge number of colors as well as being a good thread. Fortunately, we all have different preferences and you should choose according to what appeals to you and works best for you.

Hmmm...speaking of threads...Manuela used to be much sought after, a favorite. I have a ball of size 20 in front of me...50 grams which is 400 meters. (Apparently this thread is now called Hakelgarn?) and I remember paying $6 for it. I also have a ball of Lizbeth in front of me in size 20, which is 25 grams or 210 yards (this one says yards, not meters) and it cost me $4. So 50 g would be about 420 yards. To be honest, I think I prefer the smaller balls. I got the majority of my Manuela around 1999. That means it is 10 and 11 years old. I've only used up maybe 2 or 3 balls in that entire time. I wanna run out so I'll have justification to buy NEW thread!!!! LOL!

So what shall I tat next??? Firstly, I have a few friends who want earrings so if none that I've already tatted are quite what they want, then I may need to do that. Secondly, I found I only have 2 things to tat for the T.A.T., plus maybe a redo on another and the finishing touch on another. I also have to see how it's all labeled. I realized I did my last one a little bit wrong. Nothing was said and maybe if I go back and read the directions, they changed between apprentice and intermediate. I definitely want to finish that up and send it off.

There are birthdays coming up in February and March.

I've got a grandbaby to be planning for.

I'm still sorting out the chaos from when my son moved in. It's more manageble now, only because I have it temporarily hidden, but I want to make inroads there. I refuse to take my tree down until I do. Never had a tree up in July and don't intend to start now!

I have a few projects I want to embark on this year too, the sooner the better while they're fresh in my mind.

And I found a skein of HDT from Karey while moving things around that I need to get wound on a card.

Looks like I'm going to be very busy for quite awhile now.

Saturday, November 07, 2009


This is my last attempt at this snowflake. It's closer to the original, but it shouldn't have been this hard to achieve a duplicate!

LOL! I just realized - usually, I purposely make a change along the way to suit my tastes more but this time I wanted it to look exactly like the picture!

The only thing I changed this time was the way the inner chains were made. The directions call for the tiny picots to have two ds between each picot. I changed it to only one stitch and I made the picot itself almost negligible, a bare bump in the road, so to speak. I did pull the center ring of the clover out a bit when blocking but I pin from the inside of the ring, not the picot. In the designer's version, it's clear the pinning was done in the center picot of the center ring. That would definitely give it a pointier look. My center laid flat because I left a little space between rings. The thread is size 20 Lizbeth.

My next snowflake will be either Jane's newest one, the Snowsettia, or one from Jan Stawasz. There are 3 or 4 in his book that I love and they turn out the same!