


%2B(650x228).jpg)


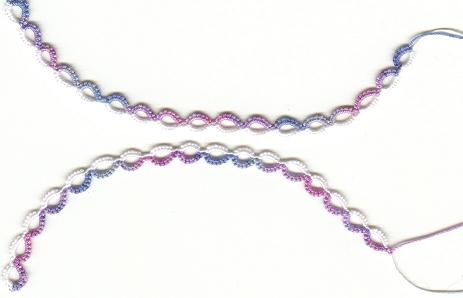
Here are the two lengths of split rings, 8 ds on each side. I used white and a varigated to give a little contrast.

Here I've started pulling the ring length from the bottom through the upper length just like the chain plait shown yesterday. It was a tighter fit and I wouldn't want to do this for a long length.
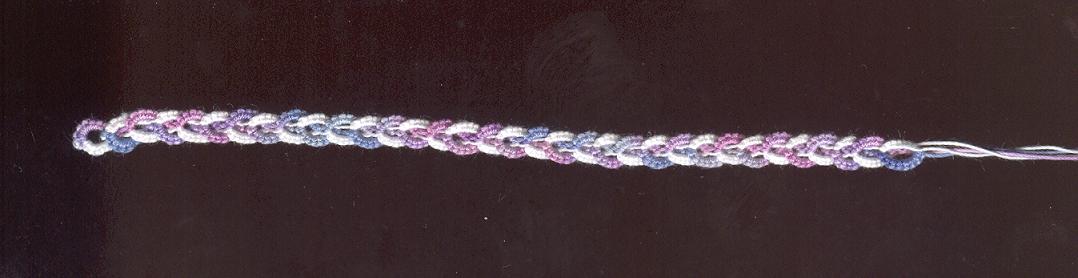
This is the completed plait. According to Jean Sharples, the front and back will look different. The only difference I saw was that they appeared to be running in different directions - similar to a nap. One side flows in one direction while the other side flows in the opposite direction, but that was all.

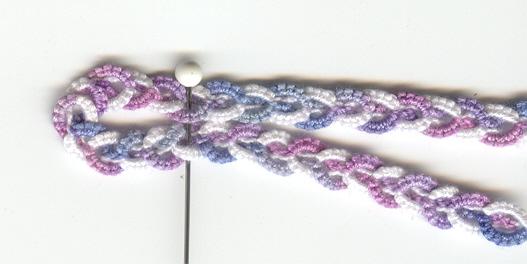
At first, I didn't think this one was very flexible either. In the first scan, it was starting to cup, but with a little manipulation, I was able to double it over as shown in the 2nd scan. I'm not sure that it would lay well on it's own, but if anchored elsewhere, I think it would work.


.JPG)


0 comments:
Post a Comment
Emails and comments both are welcome and always read.