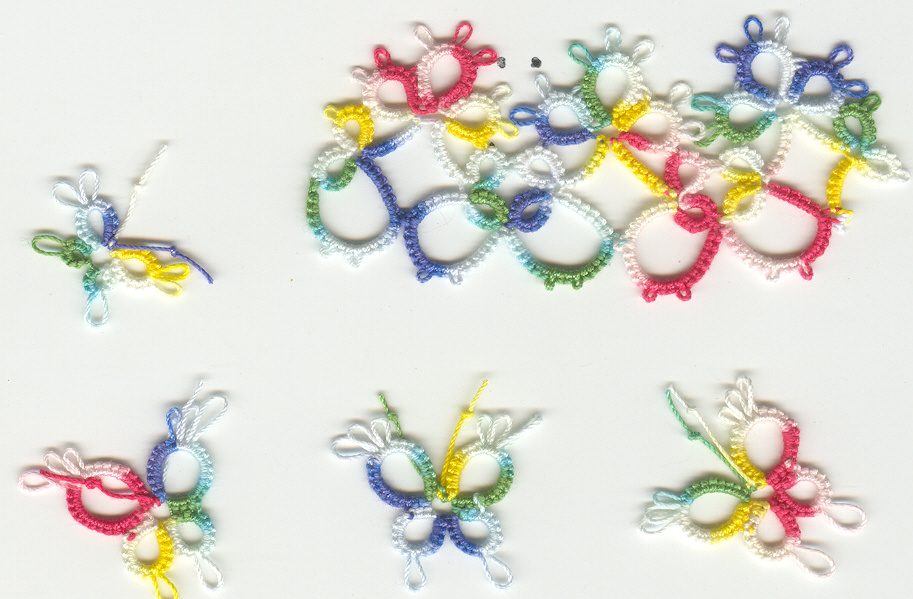
This was my first choice - an insertion from DMC's Book of Charted Tatting Designs. I've only done half of the design. At the end of the length you want, you turn around and do the same on the other side. There were a couple of problems. I was using size 20 manuela and this part alone (not the butterflies - those were shuttle endings) was about 1 1/2" high. With the other half, it would have been close to 3", which is a bit too tall for the hat. Oh...would you like to see the hat?
I have a few plain straw hats I'm more likely to wear, but this is my practice piece. Anyway, back to the problems. The thread seemed BIG. I didn't like it and the colors, while bright and pretty, were not what I wanted. Then I made a mistake, I thought, far enough down that I cut and tied in to correct it, only to find I was still wrong or that maybe I hadn't been wrong to begin with - so I took it as a sign to abandon idea #1.
I had a back-up idea.

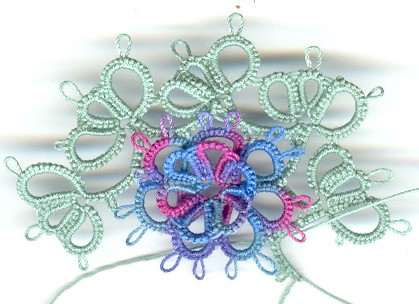
I'd been looking through a vintage edgings booklet full of florals. There are some tatted flowers...and some looked almost like the rosette in Mary Konior's Tatting with Visual Patterns. I was trying to figure out how I could do the rosette with the leaf structure from the edging...so I made a rosette from a smaller thread, a size 50 Flora. In the meantime, I've been looking at a dress trim in the same book (page 52 for those who have it) and I'm wondering if I can't somehow adapt it to encircle the rosette. My rosette ends up having 7 petals on the bottom layer instead of 8 but the dress trim motif only had 6 logical join points so I'm not sure what to do but I start tatting and joining, wondering where I'm going with this.

I think I like it. I will probably end up with 7 repeats to match the join spots on the rosette. My only question then is how to make subsequent motifs match up in a straight line? I had it figured out with the 6 points. I'm wondering how beads would look on it too?


.png)


%2B(650x228).jpg)


.JPG)


0 comments:
Post a Comment
Emails and comments both are welcome and always read.